The Document Window
Flying Logic can have multiple documents open at one time. Each document window is divided into several functional parts.
The Canvas
The Canvas is where you do most of the work of building your diagram. See Constructing Graphs for information on working with the Canvas.

If the diagram in the canvas is too big to fit into the window, there are several ways to move your view around:
- Use the scroll bars that become active at the bottom and right sides of the Canvas.
- Click and drag in the blank gray background of the Canvas. This gesture is called “sliding,” and causes the view to continuously scroll in the direction of the gray gesture arrow. The scrolling speed is proportional to the distance you drag from the place where you initially click.
- Click in the Canvas, then hold down the Control key and press (or press and hold) an arrow key to slide the view.
- Use your mouse scroll wheel to move your view.
- Use the Navigation Inspector to easily change the part of the document you are viewing. See Navigation Inspector for details.
In addition to moving your view around, you can also zoom your view in or out.
- Use the Zoom Slider at the bottom of the canvas or in the Navigation Inspector to shrink the graph down to 25% of its normal size so more is visible, or enlarge it up to 400% of its normal size for use in presentations.
- Click the magnifier icon on either side of the zoom slider to display a popup menu that lets you select a specific zoom level.
- Use the View ➡ Zoom to Fit and View ➡ Full Size commands.
- Hold down the Alt key and use your mouse scroll wheel to zoom in or out.
- Press < or > to zoom in or out, respectively.
When the view is zoomed out, it may be difficult to read the text in an entity or edge annotation. To assist in viewing these elements without changing the zoom level, you can move the mouse cursor over the element and press "Z". This will magnify that one element for easier viewing.
The Toolbar

The toolbar contains a row of icon buttons that are used to perform common tasks. Each button has a tooltip that appears when you move the cursor over it to remind you of its function. From left to right the icons in the toolbar represent Add Entity, Insert Entity, Add Entity as Successor, Open Quick Capture, Add Group, Show/Hide Confidence Values, Show/Hide Edge Weights, Show/Hide All Edge Annotations, Show/Hide Annotation Numbers, Show/Hide Entity IDs, Turn On/Off Incremental Layout, and Turn On/Off Project Management. The Toolbar also contains a live search field and a Find button that provides a search dialog.
Document Tabs
When more than one document is loaded in a window, a Document Tab bar will appear just below the Toolbar. The tab of the current document appears with a bright background color, while other tabs have a dark background color.
To switch documents, click the document’s tab. You can close a document in a tab by clicking the close box button at the right side of the tab. You can reorder the tabs by dragging a tab along the bar.
If there are too many documents loaded in a window to show all the tabs, a pop-up menu will appear at the far right of the bar. You can select a document from this menu to make its tab appear in the bar. This will move the document represented by the former rightmost tab to the pop-up menu.
The Sidebar and Inspectors
The Sidebar contains eight collapsible inspectors. Each inspector gives you control over a specific aspect of your Flying Logic document. Click the vertical buttons or press Command (Mac) or Control (Windows) and the corresponding numeral to show or hide the corresponding inspector.
Document Inspector
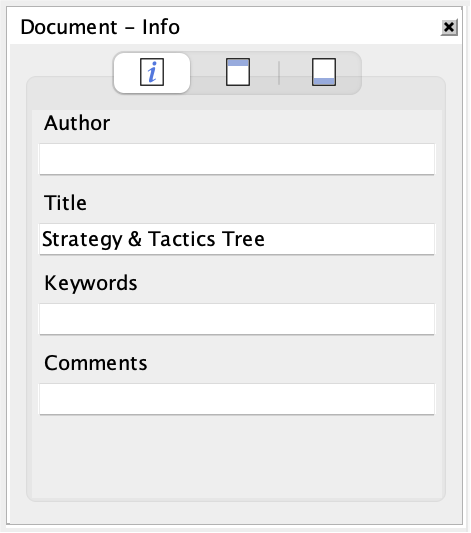
The Document Inspector contains three tabs: Info, Header, and Footer. The Info tab lets you specify metadata for your document, while the Header and Footer tabs allow you to specify which metadata should appear at the top and/or bottom of each printed page.
Domain Inspector
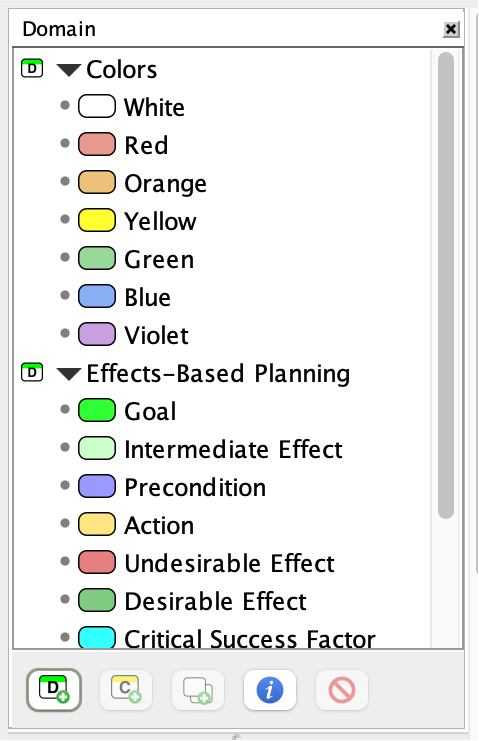
The Domain Inspector lists the kinds of entities (“entity classes” or just “classes”) you can put into your diagram. There are five predefined groups (“domains”) of classes: the General domain includes two classes: Generic and Note, and the other four include several additional classes each. Which entity classes you use will depend on the needs of your project. For information on using the Domain Inspector to construct your diagram, see Constructing Graphs. For information on creating your own custom classes, see Domains.
The Generic and Note built-in classes have their “Show Name” attribute turned off. Therefore, they will be displayed without the name of their class at the top of the entity rectangle, and will have an all-white (or all-yellow) background. You can create your own custom classes that either show or hide the class name. See Creating A Custom Class.
Navigation Inspector
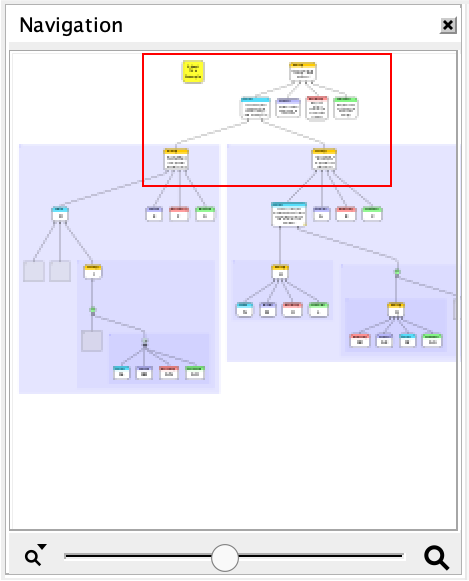
The Navigation Inspector contains a thumbnail view of your entire document and a red rectangle that represents the section of the document currently visible in the Canvas. You can click and drag within the thumbnail to move the view, and use the inspector’s Zoom Slider to make the view larger or smaller.
Layout Inspector
.png)
Flying Logic documents all “flow” from their beginning to their end in the direction of the arrows (“edges”) that connect the boxes (“entities”), and the Orientation popup in the Layout Inspector lets you determine the direction of this flow. The Bias popup lets you determine whether Flying Logic’s automatic layout prefers to push entities towards the beginning or end of the document’s flow. The Compactness popup will change the length of the edges to give different levels of compactness to the graph. For more information, see Layout.
Operators Inspector
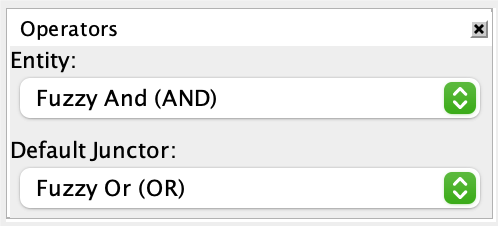
The Operators Inspector lets you set the operators associated with incoming edges for the entities in your document, and the operator associated with newly-created junctors. For more information, see Operators.
Element Inspector
The Element inspector contains four tabs, one for each kind of element in Flying Logic documents: Entities, Edges, Junctors, and Groups. The controls in each tab of the inspector let you adjust various attributes of the currently selected elements of that kind.
Entity Tab
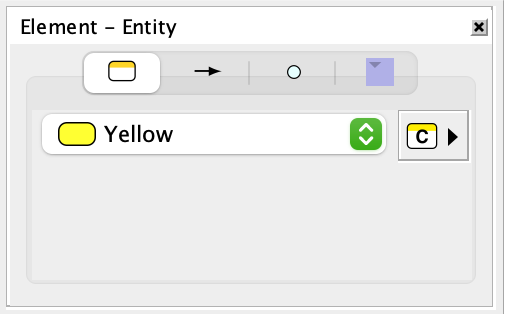
The Class Popup is used to quickly assign a new class to the currently selected entity or entities. For more information, see Changing the Class of an Entity. Each entity can have a symbol assigned to it to make it easier to identify. Symbols are assigned to entities using the Entity tab of the Element Inspector. For more information, see Assigning Symbols to Entities.
Edge Tab
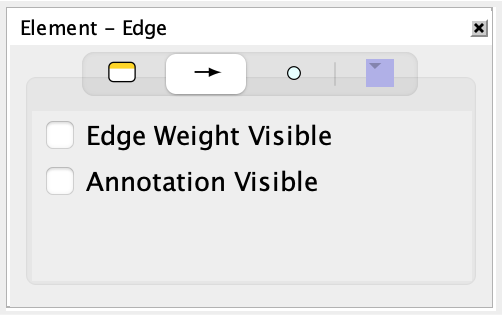
Edges can display their edge weight, their annotation, or both, and these attributes can be set for all currently selected edges from the Edge Tab. For more information, see Edge Weights and Text Inspector.
Junctor Tab
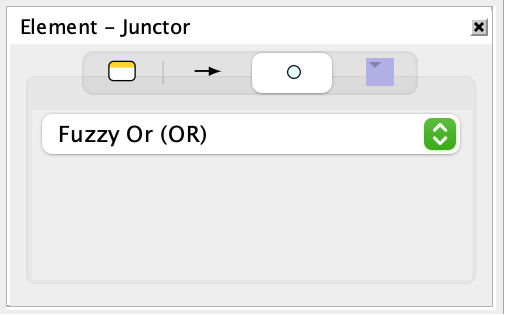
The operator associated with the currently selected junctors can be set from the Junctor Tab. For more information, see Working With Junctors and Operators.
Group Tab
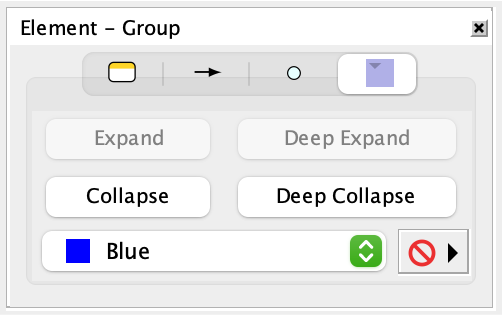
The currently selected groups can be expanded or collapsed, and their color can be set, from the Group Tab. Groups can also have a custom icon. For more information, see Working With Groups.
Text Inspector
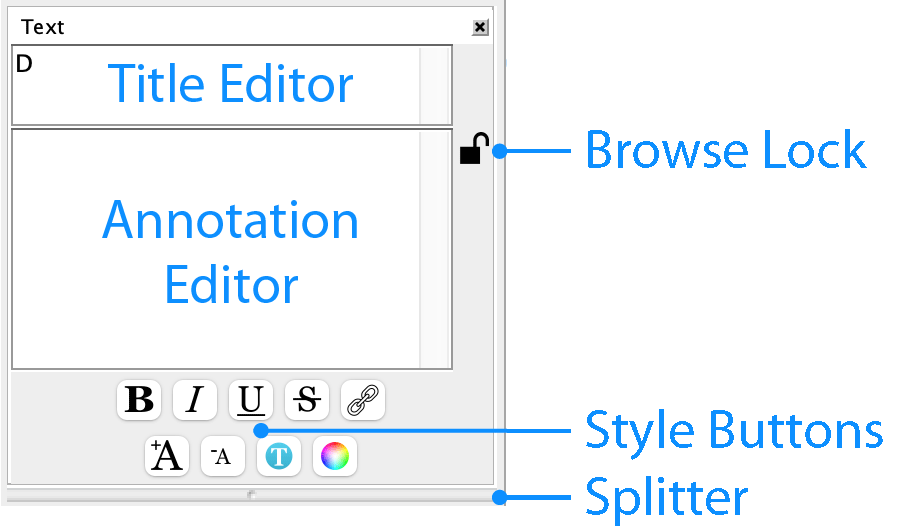
The Text Inspector provides several tools for editing the text in titles and annotations for the currently selected element.
Annotations
The Title Editor displays (and can also be used to edit) the title of the currently selected entity or group. See Constructing Graphs for more information about editing titles.
Every element (entity, edge, junctor, group) in the diagram can have its own annotations, and these are created and edited in the Annotation Editor. Annotations can be any length and are intended to be where detailed supporting information and underlying assumptions are recorded. Use the splitter to change the size of the Annotation Editor. To create an annotation or edit an existing one, select the element you wish to annotate, then click in the annotations area. If an element has an annotation, it will appear in the diagram with a small yellow circle on it.
Edge annotations can also be displayed as separate boxes with visible text. To display annotation boxes for every edge in the diagram, select the View ➡ Edge Annotations command, or click the Show/Hide All Edge Annotations button in the toolbar. To display edge annotations for only selected edges, select the edges then right-click (Mac, control-click) on any of them and select Show Selected Edge Annotations from the contextual menu. When an edge annotation is visible, you can edit it directly by either double-clicking it, or by selecting the edge and pressing the Tab key.
.png)
Without Annotations
.png)
With Annotations
.png)
Visible Edge Annotations
The setting for the View ➡ Edge Annotations command overrides the settings for showing individual edge annotations. When it is turned on, all edge annotations will be visible and the individual settings for edges are ignored.
Creating annotations for edges is particularly important, as the edges “hide” your assumptions about why you believe one entity causes (or contributes to the cause of) another. Surfacing these assumptions is a critical aspect of using the Thinking Processes.
Styled Text, Hyperlinks, and Browse Lock
Annotations can contain styled text and hyperlinks (clickable URLs). These are both editable and viewable in the Annotations Editor of the Text Inspector.
The Browse Lock button to the right of the Annotation Editor is used to switch between editing mode (unlocked) and browsing mode (locked). In browsing mode, hyperlinks are clickable and open the linked-to page in your web browser. In editing mode, they are directly editable.
Styled text attributes can be changed for the currently selected text by using the commands in the Format ➡ Font menu.
The text that represents a hyperlink and the underlying URL can be separately edited by placing the insertion point within a link then using the Format ➡ Edit Hyperlink command.
Styled annotations are also editable and hyperlinks are clickable in visible edge annotations. Clicking or editing a hyperlink in a visible edge annotation behaves according to the state of the Browse Lock button in the Annotation Editor.
The hyperlink text can take several forms:
-
A URL reference to a web page:
http://sciral.com/products/index.html -
A reference to another Flying Logic document in the same directory as the current document:
My Document.xlogic -
A reference to an entity by Entity ID in another document:
My Document.xlogic#42 -
A reference to an entity by Entity ID in the current document:
#42
In URL terminology, the text of a URL following the (“#”) mark is called the “fragment”. In addition to Entity ID, Flying Logic now supports a number of additional fragment specifiers.
-
A more explicit reference to an Entity ID:
#entityid=42 -
The exact, case-sensitive text of an entity’s title:
#title=This is the Text of the Title -
The exact, case-sensitive text of an entity’s annotation:
#note=This is the text of the note. #annotation=This is the text of the note. -
All entities of the named class:
#class=Goal -
The exact, case-sensitive text matching either the name or value of user-defined attributes:
#attrname=Price
#attrvalue=49.99
#attrname=Price #attrvalue=49.99 -
The exact, case-sensitive text matching the name or abbreviation of a resource:
#resource=Alice -
All elements matching the Find string:
#find=The text to find -
Options for the Find function. These correspond to the checkboxes in the Find dialog. More than one option can be specified by separating the options with a comma. The options
entityid,attrname, andattrvalueare new to this release.#options=(and|regex|casesensitive|titles|notes|annotations|entityid|attrname|attrvalue|incollapse|wholewords)
More than one fragment specifier may be used by separating them with ampersands (“&”). For example:
#find=water&find=tea&options=titles
Will find every entity with the word “water” OR the word “tea” in its title, while:
#find=water&find=tea&options=titles,and
Will find every entity with the word “water” AND the word “tea” in its title.
User-Defined Attributes Inspector
The User-Defined Attributes Inspector supports adding custom, user-defined attributes to document elements and on the document itself. Each attribute is a name-value pair, and the values can be defined as being String, Integer, Real (floating-point), or Boolean (true or false).
With nothing selected in the document, the User-Defined Attributes Inspector is used to edit the document attributes:
.png)
User-Defined Attributes Inspector, no selection
With any other selection, the User-Defined Attributes Inspector is used to add, edit, or remove the attributes from all selected elements simultaneously:
.png)
User-Defined Attributes Inspector, elements selected
User-defined attributes can simply be used as a more structured form of annotation. However, in conjunction with Flying Logic’s scripting system, they can also be used as data in scripted operations, or help improve the export and import of documents. For more information, see the section on Scripting and the Flying Logic Scripting Guide.